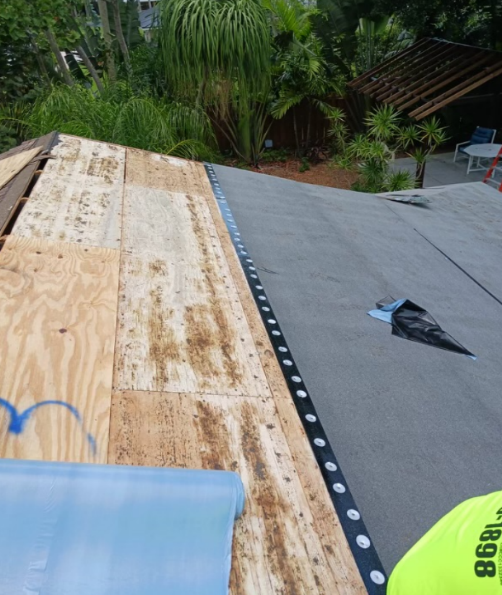
This phase includes demolition from the roof system to the deck sheathing. This process usually takes anywhere from 1-3 days, depending on the roof size, weather & inspections. Any rotted plywood, fascia, 1x2 gets changed during this time.
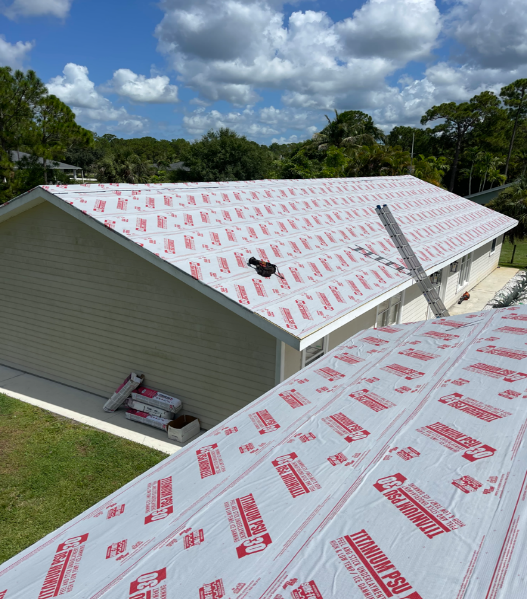
2. Dry-In Phase
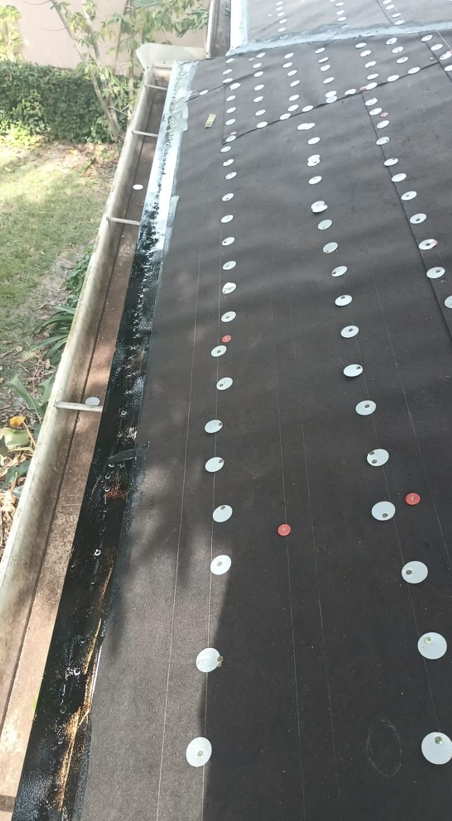
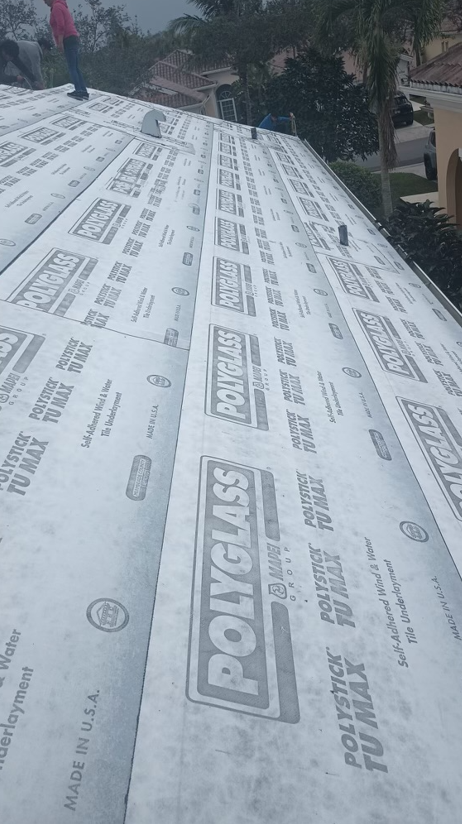
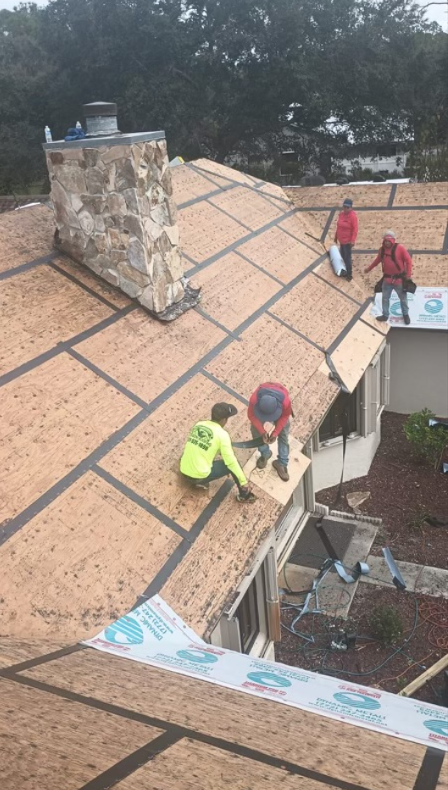
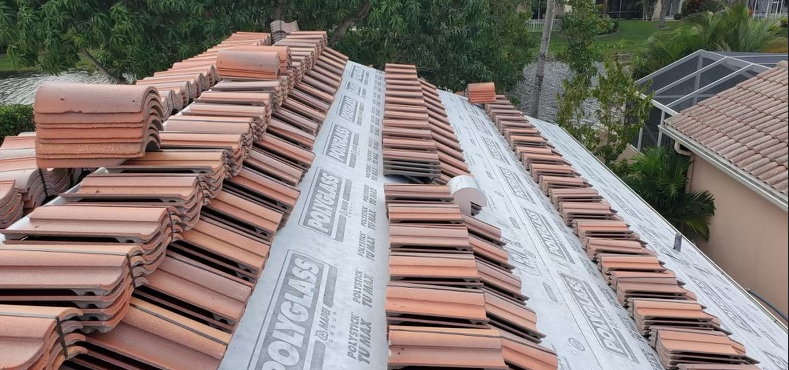
This phase must be done right after the tear off phase has been completed. The dry in phase helps protect roof sheathing as it's water barrier. During this process you have the drip edge, valleys, & flashing installed for inspections.
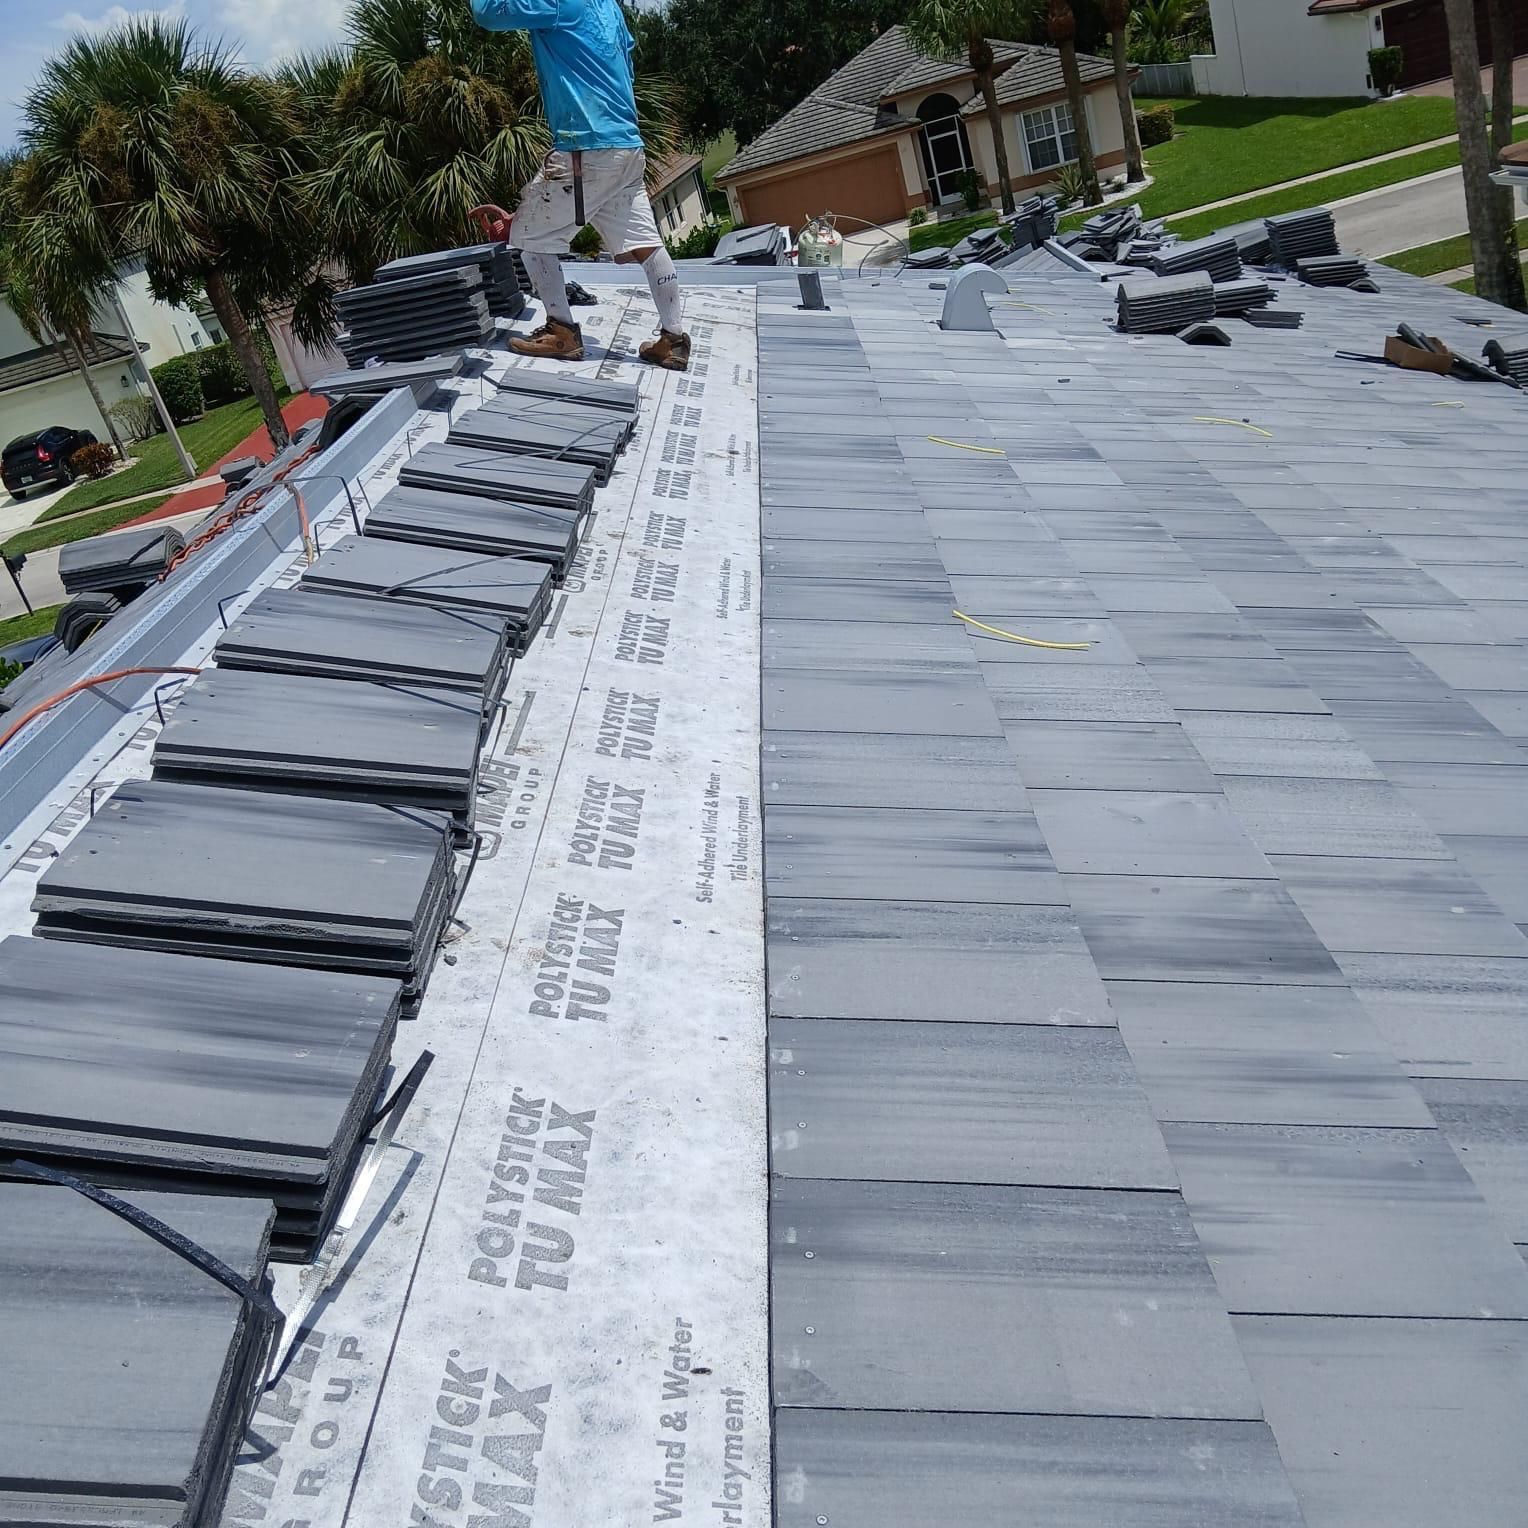
Tile 1st barrier
Tile 2nd barrier
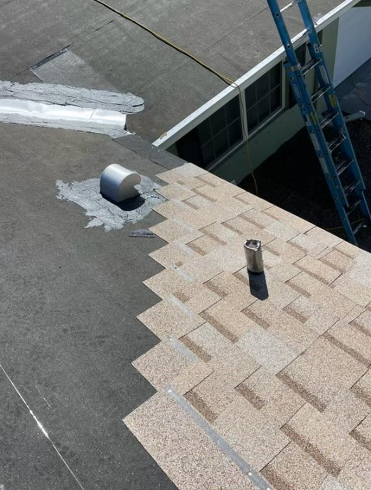
Shingle
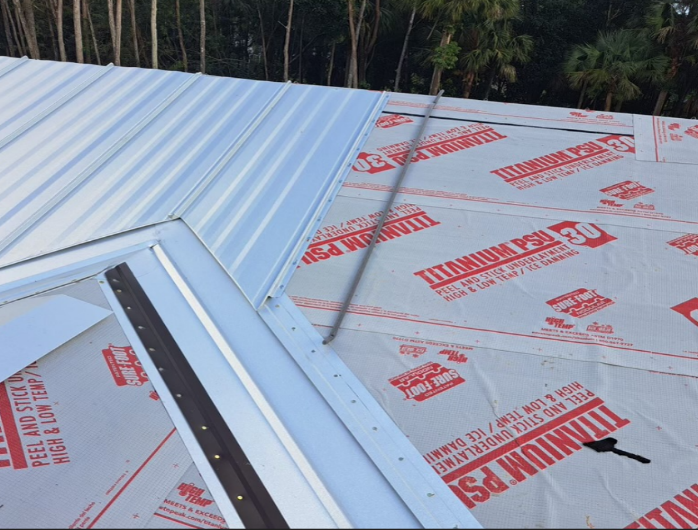
Metal
3. In Progress Phase
This phase requires up to a square of roofing material to be installed such as tile, metal, or shingle. Usually by now you must have all valleys, drip edge, & flashings installed.
Shingle
Metal
Tile
Ridge Vent
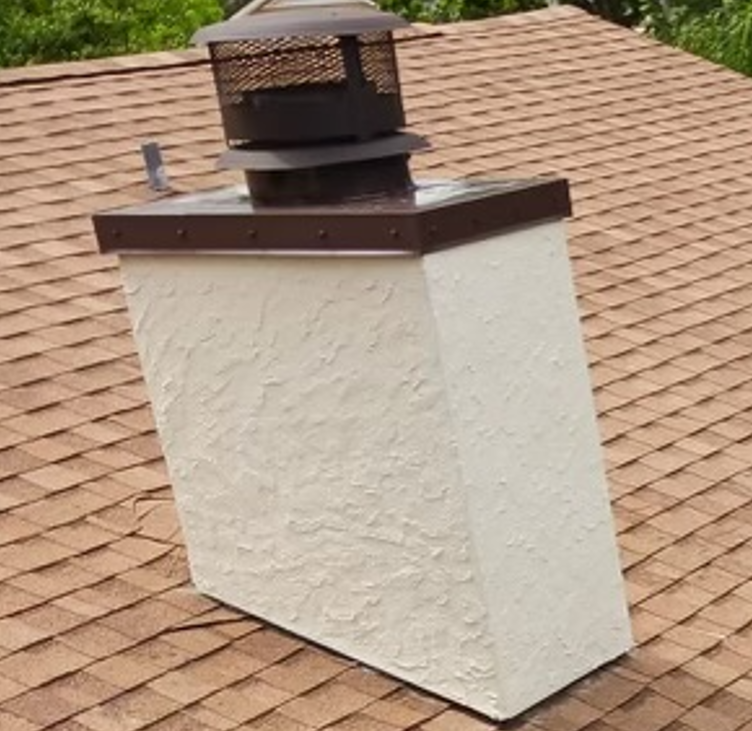
Chimney Caps
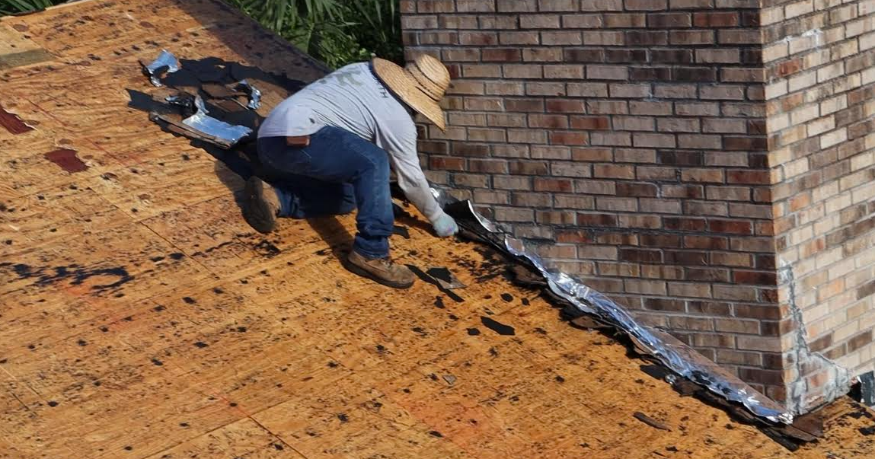
Chimney Flashing
Roof To Wall Connection
A roof to wall connection is needed when the Property appraiser lists the home's improvement value at $300K or more and if the house was built before 1990. A building department will require to have your straps up to code with up to 3 nails per strap and in Wellington 4 nails per strap. Doing this does give you an insurance discount but can add on cost by a lot.
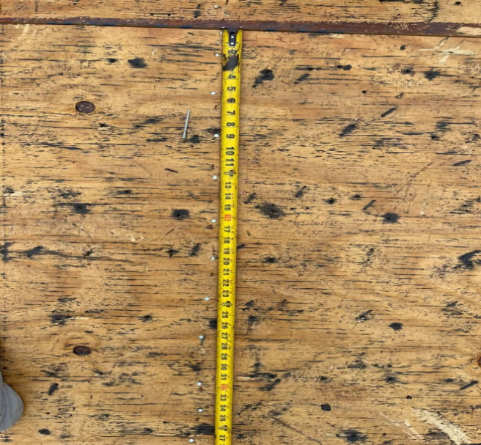
Secondary Water Barrier
Roof Loads
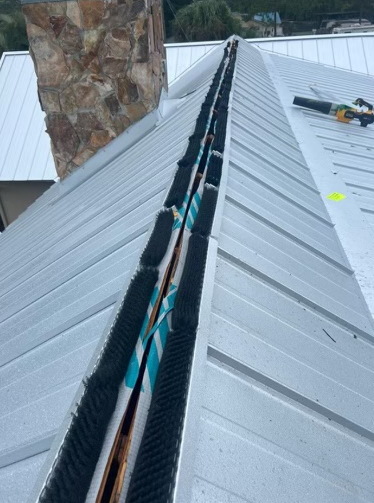
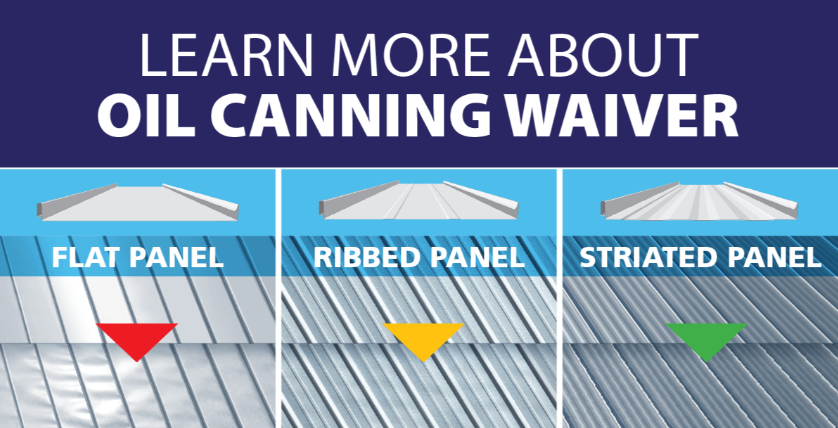
Oil Canning
Backer rods & striated panels help with the oil canning look
Panels with oil canning
Need Reliable Roofing Services? We’ve Got You Covered!
If you’re interested in learning more about our roofing services, please fill out our contact form. We will reach out to you as soon as possible.
Contact Us
Thank you for contacting us. We will get back to you as soon as possible.
Oops, there was an error sending your message. Please try again later.